Edit Perfect Dog Photos by Silke Putscher |Published 08-09-2021
Whether it’s an adorable pose or a cute and funny moment, people tend to take lots of photos of their pets to capture memories and relive the happiness they experience.
Pets are photogenic, and if you have one, it’s most likely that you’ve pointed your camera at them as if it were reflex.
Suppose you’re into photography or just like to take snapshots. In that case, it is only natural to take photos of your fur babies to practice your skills.
Taking pictures of pets is a world of accidents, loud noises, and challenges—all of which can make you become a better all-around photographer.
However, adorable images are not as effortless as they seem and require effort from you, both as a photographer and a good pet guardian.
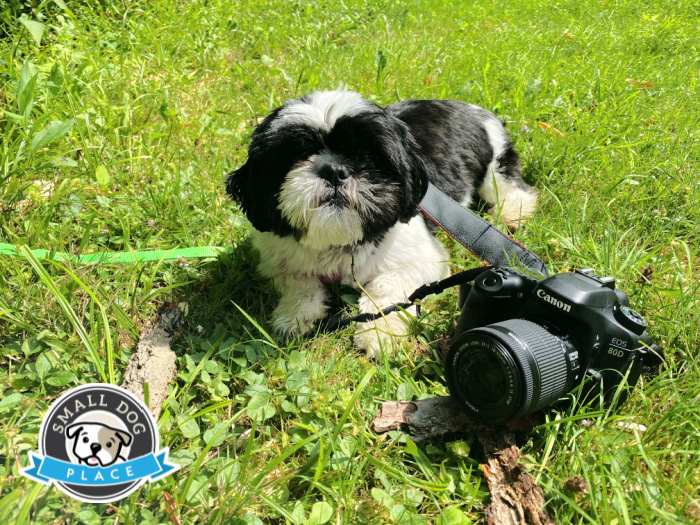 How to Edit Perfect Dog Photos
7 Editing Tips for the Perfect Dog Photos
Anyone who’s into pet photography knows that the effort extends even into the editing process.
So, if you’re a photographer looking to brush up on your editing skills, then you’ve come to the right place!
Here are some suggestions you can follow when editing pet photos, as well as advanced tips if you’re using photo editing software such as Lightroom or Photoshop.
Whether you’re just starting your pet photography journey or gearing up for a pet photo contest, these will help you get a head start!
1. Avoid over-enhancing
This is the most straightforward tip we can share. Just because it is easy to enhance a picture, it does not mean you have to max out all enhancements.
When adding more impact to a photo, there is a tendency to go overboard with Color, Contrast, Sharpness, and other adjustments, producing lousier results than the original.
Instead, utilize the Auto or Auto Enhance tool that automatically adjusts the photo’s colors and brightness.
You can then fine-tune the edits made. Simply move the slider to adjust the strength of the correction.
You can also modify the individual modifications that have been made to Color, Brightness, Sharpness, etc., accordingly.
Advanced Level Tips
Bringing emphasis to the eyes can accentuate the connection between the photo and the viewer. Eye enhancements can be performed with the Adjustment Brush in Adobe Lightroom or Layer Masks in Adobe Photoshop.
Instead of over-enhancing the color and contrast, keep the eyes natural while slightly improving their appearance. Ensure there are bright catchlights and that you can clearly see the color and structure of the iris.
Light-colored eyes like blue require minor enhancements than dark-colored eyes. They only need sharpening and no color or contrast adjustments since they are naturally lighter.
2. Make wise framing and cropping choices
When framing and cropping your images, you have to consider composition—how the photo’s elements are arranged to make it look pleasing and interesting. Experiment with different cropping and framing options during the editing process and see how each option tells a different story. This ensures you develop an eye for composition over time.
There are a few general tips to keep in mind when framing and cropping. First, make sure your crop isn’t too tight. Leave more negative space around the subject to give some breathing room to the image.
If symmetry is your compositional goal, then commit to placing the subject dead center, especially if they are looking straight ahead.
If the subject isn’t looking directly at the camera, leave negative space for the subject to “look into.” Similarly, when it comes to action shots, make sure to leave room for the subject to “move into.”
These techniques ensure that the photo’s story is being “continued.”
3. Adjust shadows and highlights
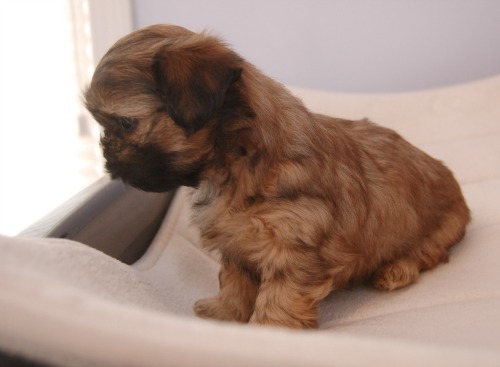
Highlights are the areas in the photo with the most light hitting them. If these spots have lost details due to overexposure or appear too dim, they could benefit from highlight adjustment.
In contrast, Shadows are the areas with the least amount of light on them. If these areas are too dark, they may lack visual detail; if too light, they may lack contrast.
The right balance of shadows and highlights can add more depth and dimension to your photo. Conversely, overly-lightened shadows and blown-out highlights can make it look weird.
To adjust, move the Highlights slider to the right to increase exposure in the photo’s lightest areas or left to decrease.
Move the Shadows slider to the right to lighten or to the left to darken any shady spots. Pay careful attention not to let Shadows overtake the faces of your pets.
Advanced Level Tips
In Lightroom, you can correct overly-lightened shadows using the Black slider (located under the Basic panel), while the Darks slider (under Tone Curve) adds some blacks and mid-tones back.
In Photoshop, you can add darks and mid-tones using levels or curves. For blown highlights, move the Highlights slider (under Basic) to the left.
You can also avoid overly-lightened shadows and washed-out images by easing off the Shadow slider in Lightroom or the Shadows tool in Photoshop.
Instead, you can selectively lighten certain areas that lack catchlights or details, such as the eyes. Furthermore, ease up on the Contrast slider to avoid making darks too dark and brights too white.
4. Set the right color tone
Setting the right gradient will help make an image look as realistic as possible.
If the image was shot in the shade or under a cloud, then the color temperature of the light should be cooler. Photos shot under the sun, or backlit images should look warmer.
Saturation, or the intensity of colors, affects how vivid or muted the photo will appear.
Adjust the sliding scale to mute colors for a calming effect, or make them more vivid to bring pictures to life.
Vibrance tools can make muted colors more vibrant without affecting skin tones or saturation too much. Still, since most dogs have fur, you will not worry too much about skin colors.
Tint tools allow you to add a green (drag slider to the left) or magenta (drag slider to the right) color tint to your photo.
We recommend using these tools in small, incremental adjustments to enhance or mute the colors while keeping them realistic to what you saw when taking the photo.
Advanced Level Tips
When using other photo editing apps or software, work on the image’s White Balance as it forms a good foundation for the rest of your edits.
If not adjusted correctly, it can throw off other tonal adjustments and leave you with unwanted color casts. White balance involves adjusting the Temperature (the balance between yellow and blue, warm and cool) and Tint.
To make adjusting easier, drag the white balance sliders to the ends, back and forth, in quick succession. This refreshes your brain to see colors for what they are.
Comparing the image with the edited ones that have the correct white balance can also help. Just make sure the photos were taken in the same type of light.
5. Lessen heavy vignettes
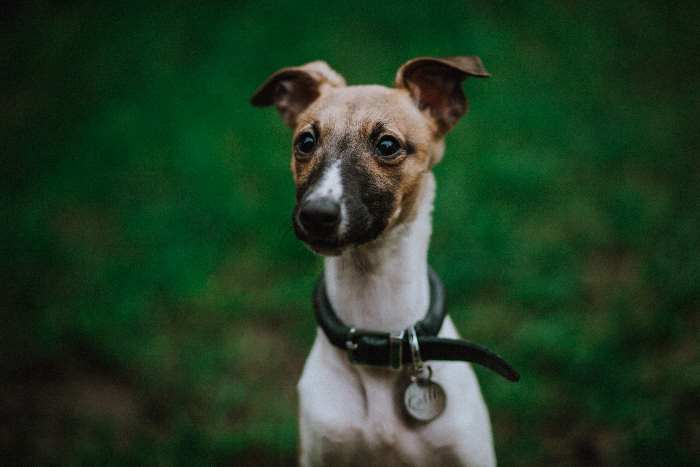 Mitchell Orr on Unsplash
Vignettes are subtle dark, shadow, or blurry framings found at the borders of a picture.
Although they can help draw attention to the center of the image, heavy vignettes can make it look like it’s surrounded by dark, depressing clouds, affecting its overall beauty.
Try to keep the slider at the middle of the scale and only drag to the right (darker vignette) or left (lighter vignette) if you want to add a sense of drama to your photos.
Advanced Level Tips
Heavy vignettes can be remedied in Lightroom using Lens Correction (under Develop panel).
Click Manual under Lens Corrections, then drag the amount (under Lens Vignetting) to control the vignette’s strength. Then, drag the Midpoint to the left to control how far into the center the vignette goes.
In Photoshop, you can access Lens Correction under Filter. Click the Custom tab, then under the vignette, slide the amount to the right and Midpoint to the left.
6. Tone down on neon colors
When editing pet photos, the aim is to produce an image that looks real and does not look like it went through too many color and tonal adjustments.
If you find that the colors give off a neon look instead of a natural one, adjust Saturation and Vibrance. Move the Saturation slider to the left and Vibrance to the right.
Other photo editing software allows you to change the Hue—pick the odd colors from the drop-down menu and balance Hue accordingly.
7. Make black fur look black
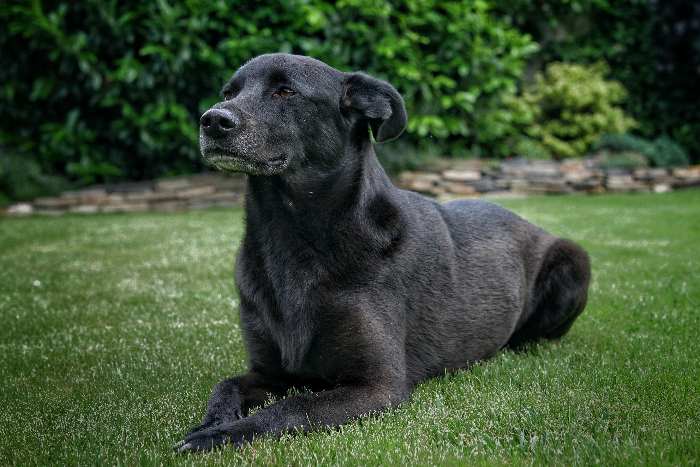 Photo by Lukáš Kováčik from Pexels
It can be challenging to photograph black dogs because of the color itself—black objects tend to absorb light, so you need good, bright, and high contrast lighting to see the details.
One of the issues with taking pictures of black fur is that it can look “washed out” and greyish, too light, or lacking in contrast.
The Shadows tool adjusts the brightness of the darkest parts in the image. Moving the Shadows slider to the right fills in the shadows in underexposed or low contrast images.
Similarly, the Black Point tool affects the brightness of only the darkest tones in the photo. If it lacks rich black tones, drag the slider to the right to make the darkest areas appear black. Dragging to the left will make those areas faded.
Advanced Level Tips
Tools such as the Darks slider in Lightroom can help bring back detail to dark areas.
This is one of the sliders under the Tone Curve that looks similar to the basic adjustment sliders.
Moving the Darks slider to the left can bring contrast back into dark areas without sacrificing shadow detail.
Another challenge with black fur is unwanted color casts. These are usually blue casts if the dog was photographed in the shade, but magenta or red can also be seen.
To remedy this, warm up the overall White Balance. Drag the temperature slider to the right and reduce the blue and magenta casts accordingly.
Pet Photography Goes Beyond a Simple Snapshot
Taking photos of pets is made easier today. You don’t necessarily need equipment such as a DSLR camera to capture good images.
For instance, the ever-improving quality of Apple products has allowed for high-performing cameras to be built into smartphones.
This accessibility has made pet photography a means to capture memories and an opportunity for the casual user to become better photographers.
By leaving the editing process alone, you can see how pet photography involves a broad spectrum of skill sets. Besides editing, there are other things to consider, from lighting to camera control and managing a complex subject.
Thus, taking photos of your pets can help you learn and practice photography skills applied to other genres.
Even if you’re not ultimately interested in pet photography, by using the tips you learned here and experimenting on this specific genre, you can witness creative growth that’s needed in other areas of photography as well.
Pin for Future Reference
Author: Silke Putscher
Author Bio: Silke is an officer at Macs4u, a Minnesota-based company dedicated to delivering the best
value in pre-owned Apple Macintosh computers.
She is also an avid animal lover
who advocates for the welfare of no-kill and high save rate shelters.
Does This Article Deserve Your Thumbs Up?
We always appreciate your support and encouragement. Your thumbs up means so much to us. Please like this article.
If you find this page or any page on Small Dog Place Helpful, or Useful in anyway, I’d love it if you would click the small heart found on the bottom right of each page.
You can also share or bookmark this page — just click on the:

Free Monthly Newsletter
Sign Up for Our Free Newsletter and get our Free Gift to You.
my E-book, The Top 10 Mistakes People Make When Choosing a Dog (and how to avoid them)

